

Aeropress Go Brew Guide
The Aeropress Go is a simple, light, compact and virtually unbreakable coffee brewer. All parts can be folded away into a mug, making it one of the most travel friendly ways to consistently brew amazing, full-bodied coffee. Our Aeropress brew guide will help you to brew up a storm whether you’re at home, work or on the road.
What you'll need
- Aeropress Go Kit
- Grinder
- Scale
- Kettle
- Filtered water
- Nuddy Coffee
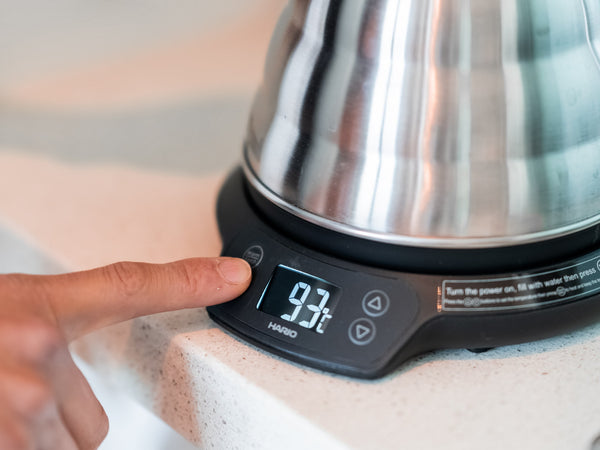
STEP 1
Boil a kettle of filtered water.
The ideal water temperature is between 93 and 96 degrees celsius. If you have a regular kettle, bring it to boil and then leave it to sit for a few minutes whilst grinding your coffee.

STEP 2
Rinse the paper filter.
Place a paper filter into the Aeropress cap and rinse it with hot water. This will remove the “papery” taste.

STEP 3
Place the plunger into the tube and invert it.
This is called ‘Inverted method’. You already sound like a coffee professional. ; ) Place it on a scale and tare to zero.


STEP 4
Put 13g of ground coffee into the tube.
The grind size should be a similar size to table salt. Freshly ground coffee always tastes the best!

STEP 5
Pour 200g of hot water into your Aeropress.
If you don't have a scale, just fill it up until it's almost full.

STEP 6
Stir well.
Give it a good stir so that all of the coffee grind is nice and wet.

STEP 7
Screw the Aeropress cap on, then wait for two minutes.
Patience is key to extracting an optimal brew that's full of flavour.

STEP 8
Flip the Aeropress onto a mug
Place a mug over the cap, then, holding the bottom of the Aeropress and cup, *flip it over.
*Make sure to hold the plunger when you flip. (Not the brewing tube)

STEP 9
Press down for 30 seconds.
Press gently until you hear the air hissing out.

Enjoy!